
Simple Dev Flow Example
A Simple Dev Flow Example: From Concept to Deployment
In the world of software development, having a well-defined and streamlined development flow is crucial for delivering high-quality software efficiently. This article will guide you through a simple yet effective development flow, using the example of creating a slideshow application. Our journey will start from the initial concept, move through UI design, logic sheet development, Test-Driven Development (TDD), and conclude with deployment. Let’s get started! Go to Step 1 Conceptualization.
1. Conceptualization
Anyone with Attention-Driven Design experience understands the significance of starting with a story. Every software project begins with an idea or concept (e.i., a story). In our case, we want to create a slideshow application. Start by defining the core features and functionality you want to include. This may involve brainstorming sessions, market research, and discussions with stakeholders. Document your ideas in a project scope document, which will serve as your roadmap.
2. UI Design

Once you have a clear concept, it’s time to design the user interface (UI) of your slideshow application. Sketch wireframes (digital or practical) or create mockups to visualize the app’s layout, user interactions, and overall look and feel. Tools like Adobe XD, Sketch, PowerPoint, or Figma can help in this phase. Collaborate with designers and gather feedback to refine your UI design.
- Adobe XD: Adobe’s UI/UX design tool is known for its comprehensive features and integration with other Adobe products.
- Sketch: A macOS-exclusive design tool favored by many UI/UX designers for its simplicity and ease of use.
- Figma: A collaborative web-based design tool that allows real-time collaboration and is platform-agnostic.
- InVision Studio: A versatile tool for designing interactive prototypes and animations.
- Axure RP: Known for its advanced prototyping capabilities and wireframing features.
- Adobe Photoshop: Widely used for graphic design, it’s still a popular choice for UI design, especially for creating detailed graphics.
- Balsamiq: A wireframing tool that helps designers create low-fidelity, sketch-like UI mockups quickly.
- Adobe Illustrator: Another Adobe product, commonly used for vector-based design work, such as icons and illustrations.
- Proto.io: A web-based tool for creating interactive prototypes and user flows.
- Zeplin: Not a design tool per se, but a collaboration tool that bridges the gap between designers and developers by generating style guides and assets.
- Framer X: A tool for interactive and responsive design, particularly for web and mobile applications.
- Adobe After Effects: Often used for creating complex animations and transitions in UI design.
- Marvel: A simple and intuitive tool for designing and prototyping web and mobile apps.
- Origami Studio: Developed by Facebook, this tool is known for its ability to create complex and interactive prototypes.
- Gravit Designer: A free and versatile vector design tool suitable for various design tasks.
Please note that the UI design software landscape is constantly evolving, and new tools may have emerged since my last update. Additionally, the best tool for your project depends on your specific needs, so it’s a good idea to explore several options and choose the one that aligns most closely with your design workflow and objectives.
3. Logic Sheet / Truth Tables Development
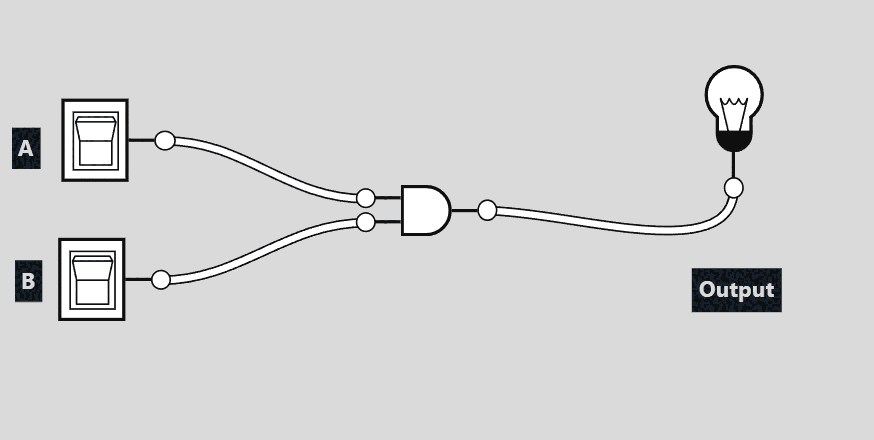
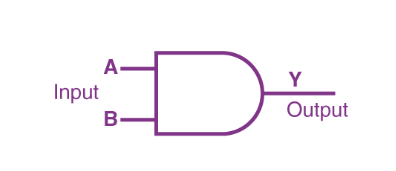

Now that you have a well-established UI design, it’s time to embark on the development of the underlying logic for your application. Begin by crafting a detailed logic sheet or flowchart, meticulously outlining the interactions between various components within your application. Within this framework, define the data structures, algorithms, and essential business logic that your app necessitates. This crucial step guarantees a comprehensive comprehension of how your application will operate and function seamlessly.
4. Test-Driven Development (TDD)
Test-driven development (TDD) is a development methodology where you write tests before writing the actual code. This approach ensures that your code is reliable and meets the requirements set out in your logic sheet.
- Write Tests: Create a suite of tests based on the functionality you want to implement. For our slideshow app, tests might include checking image transitions, navigation, and user interactions.
- Write Code: Write the minimum amount of code needed to make the tests pass. Your focus should be on making the tests green (pass) without worrying about optimization or additional features.
- Refactor: Once your tests pass, refactor your code to improve readability, performance, and maintainability. Ensure your code adheres to coding standards and best practices.
5. Development, Testing, and Refactoring
The development phase is iterative. You’ll go through cycles of development, testing, and refactoring until all the planned features are implemented and tested thoroughly.
- Development: Implement features based on the logic sheet and UI design. Write clean, modular code following best practices.
- Testing: Continuously test your code as you develop. Automated unit tests, integration tests, and user acceptance tests are essential. Fix bugs and ensure your code behaves as expected.
- Refactoring: Periodically review your codebase for opportunities to improve. Refactor code to eliminate redundancy, improve performance, and enhance maintainability. Read More About TDD
6. Deployment
After rigorous testing and refining, it’s time to deploy your slideshow application.
- Staging Environment: Deploy your application to a staging environment for final testing. This environment should mimic the production environment as closely as possible.
- User Acceptance Testing (UAT): Conduct UAT with a group of users or stakeholders to ensure the application meets their expectations.
- Deployment to Production: If UAT is successful, deploy your application to the production environment. Ensure you have proper backup and rollback procedures in place.
- Monitoring and Maintenance: Continuously monitor your application in production. Address any issues that arise promptly and consider future updates and feature enhancements.
Conclusion
A well-structured development flow, starting from conceptualization and progressing through UI design, logic sheet development, test-driven development, testing, refactoring, and deployment, is essential for successful software projects. By following these steps and embracing a systematic approach, you can increase the likelihood of delivering a high-quality slideshow application or any software project on time and within budget. Remember that communication, collaboration, and adaptability are key throughout the entire development process.


